Free crochet winter headband pattern for beginners
The Darlene Winter Headband is a simple and dare I say, cute and functional headband that will easily be one of the staples for your winter outfits. This headband will be the perfect gift for your mom, sisters, and girlfriends.
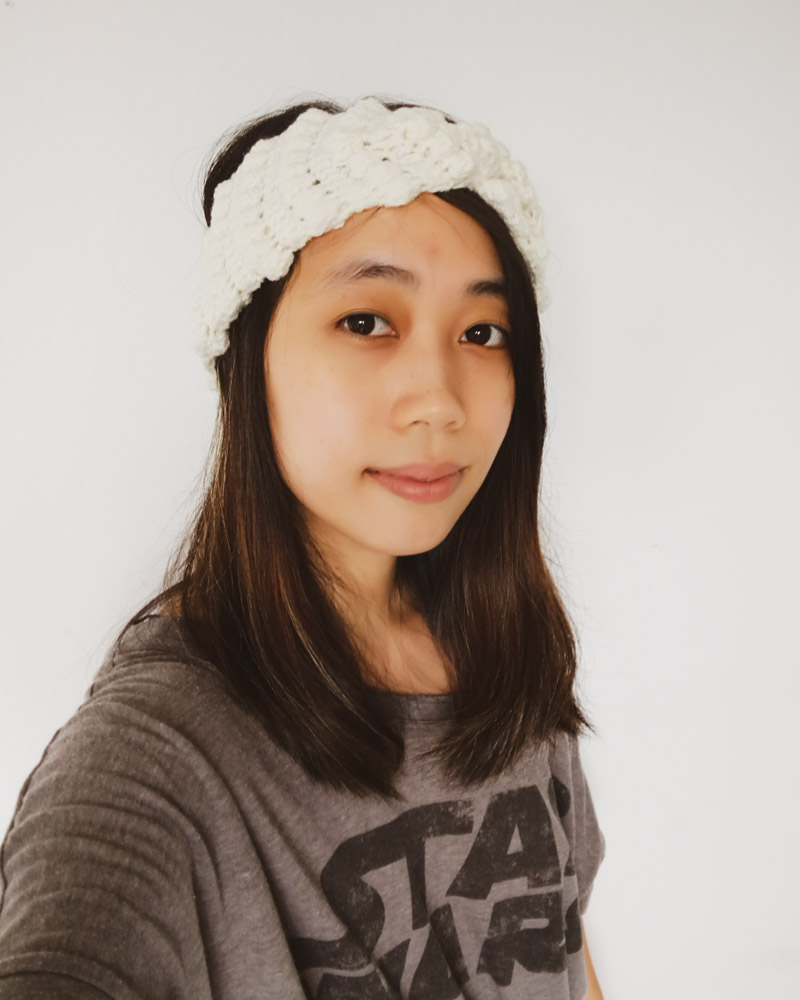

The inspiration for this was the 20’s fashion, where interesting hair accessories, turbans, bandanas, and hats were all the rage. Hence I made the design a bit wider than usual. Bonus point, you can fold or tuck in the bottom part to make it look slightly thinner while keeping your ear extra warm in winter!
Level: beginner-intermediate
stitches you need to know: double crochet and bobble stitch
Materials:
1 skein of 4 Seasons Marvel 8 ply 270m/100g (100% acrylic) in creme color. You can also use other yarn with similar weight and yardage
4.25mm crochet hook
Darning needle
Scissors
Stitches and Abbreviations:
ch(s): chain(s)
yo: yarn over
dc: double crochet
Special Abbreviation:
bobble: work 5 dc into the same space, leaving the last loop of each dc on hook, yo and draw through all 6 loops on hook.
*”dc 20″ means dc into the next 20 stitches
* wrong side means the side the bobble stitches are not showing
* right side means the side showing bobble stitches texture
Gauge: 14 cm square = 20 stitches wide x 10 rows tall in dc and bobble alternate
Circumference: 48 cm (headband circumference, not stretched), 58 cm (head circumference)
Foundation chain: ch 22
Row 1: dc into the 3rd ch from hook, 19 dc (20), ch 2 turn

Row 2: [dc, bobble]* repeat until the last 3 stitches, bobble, dc 2 (20), ch 2 turn
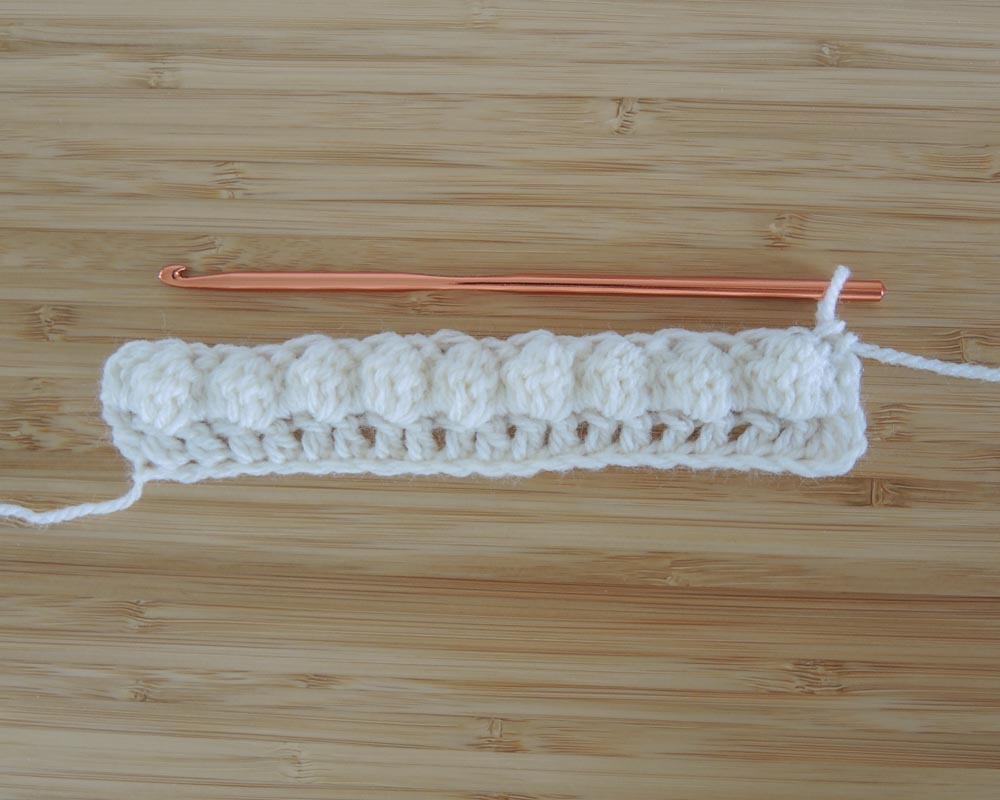
Row 3: dc 20 (20)

Row 4: [dc, bobble]* repeat until the last 3 stitches (17), bobble, dc 2 (20), ch 2 turn

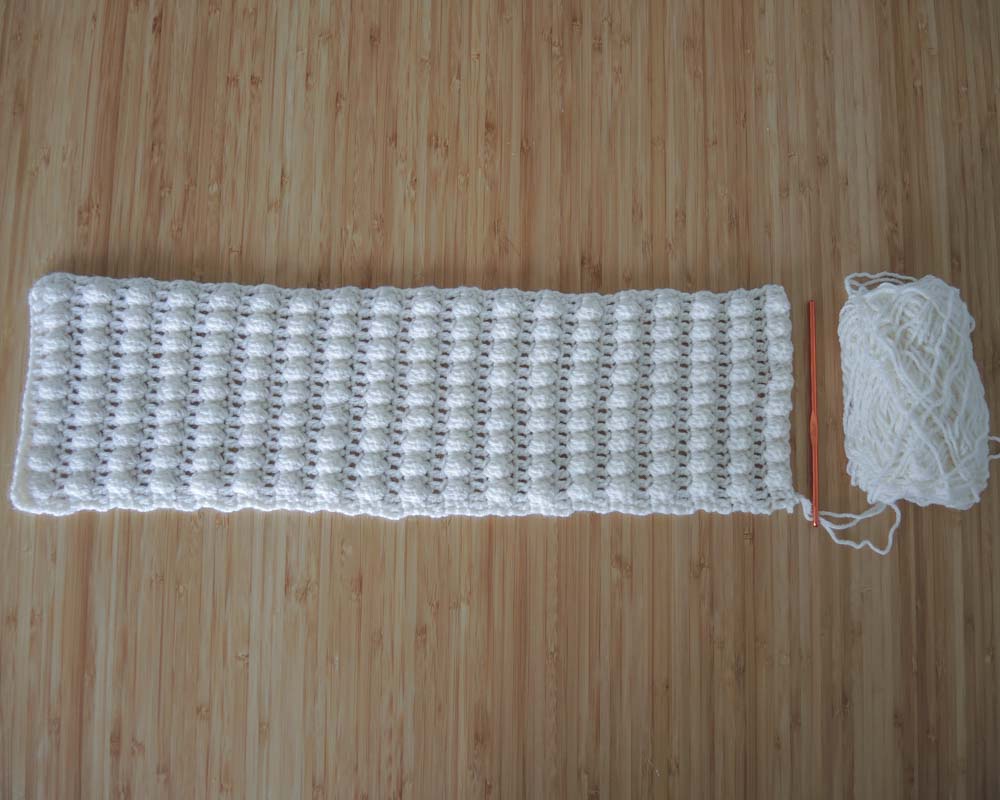
Row 5-38: repeat row 3 and 4 alternately. When you reach the end of row 38, fasten off
Making the twist knot:
Fold the headband into halves and position them following the picture below. Make sure the outside is the “wrong side” and the “right side” is inside
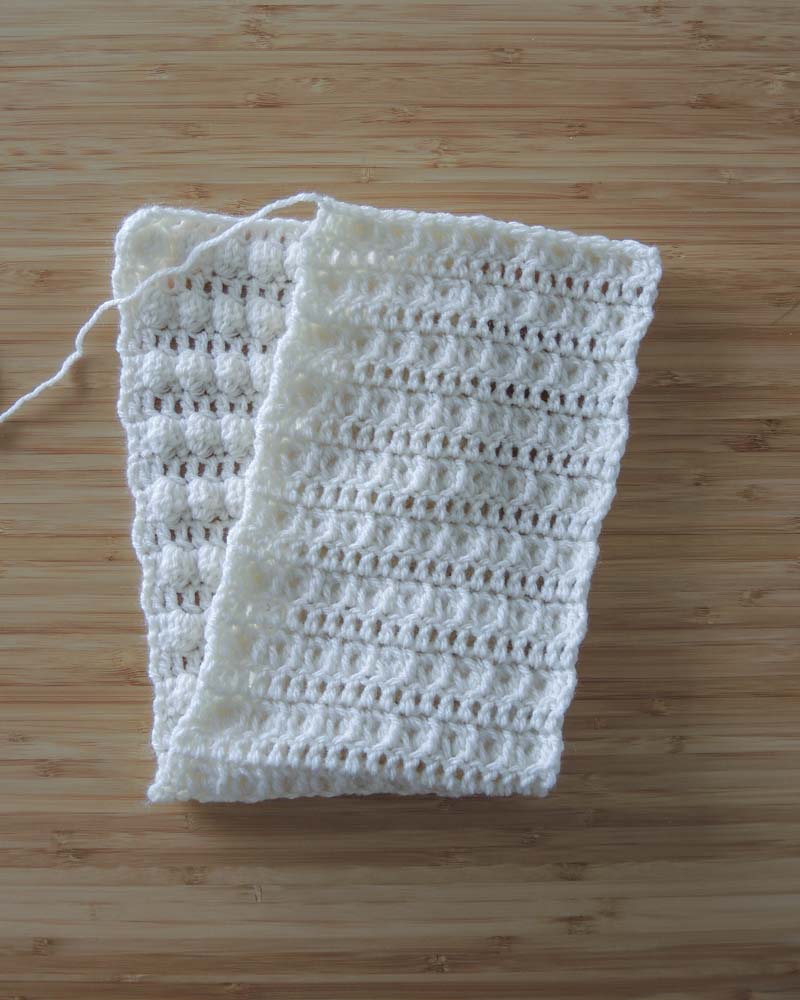
Fold one half of the back layer to the front
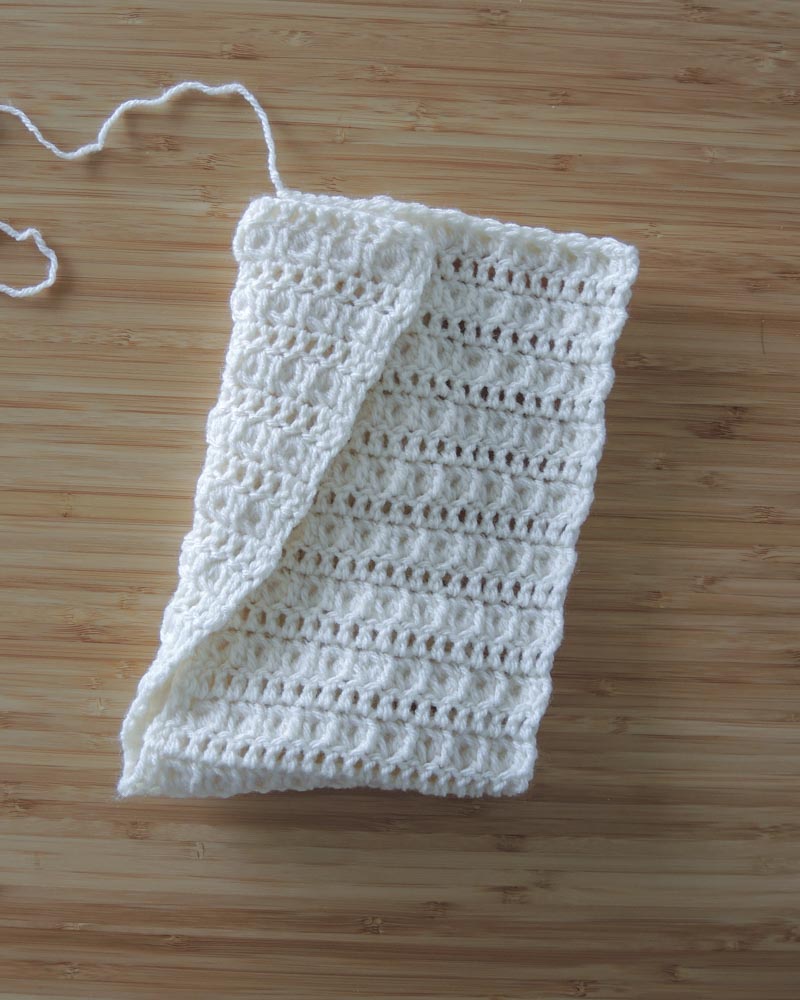
Fold one half of the front layer to the back

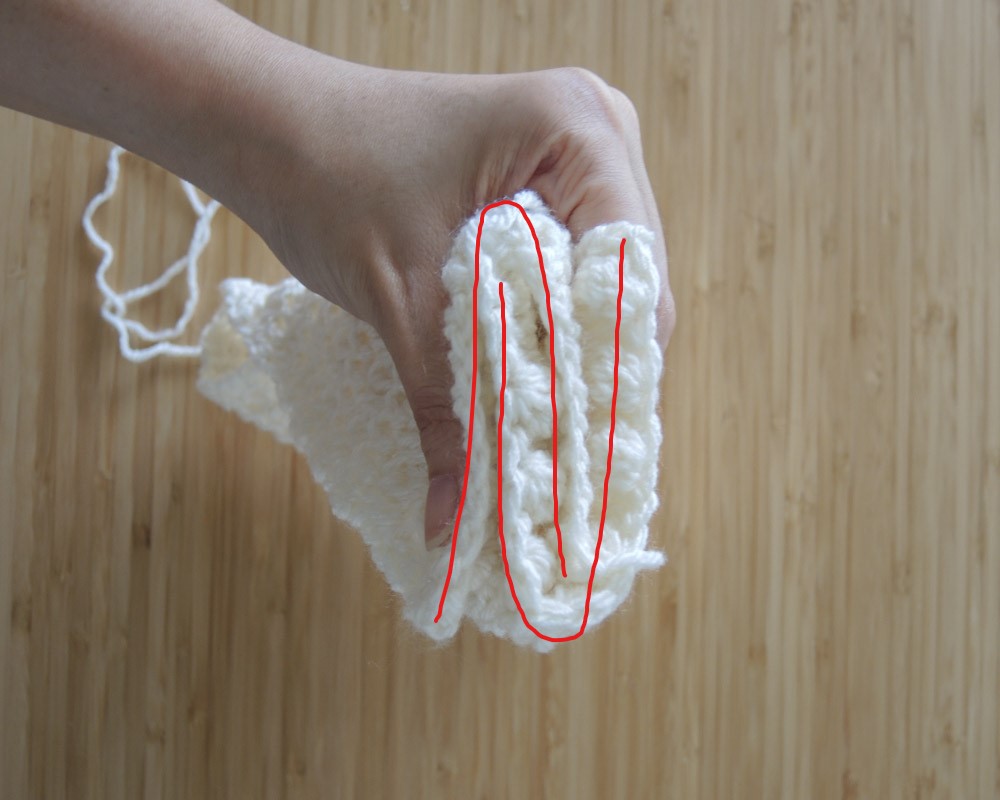
You should get this shape now. Imagine it’s like 2 “V” shapes interlocking
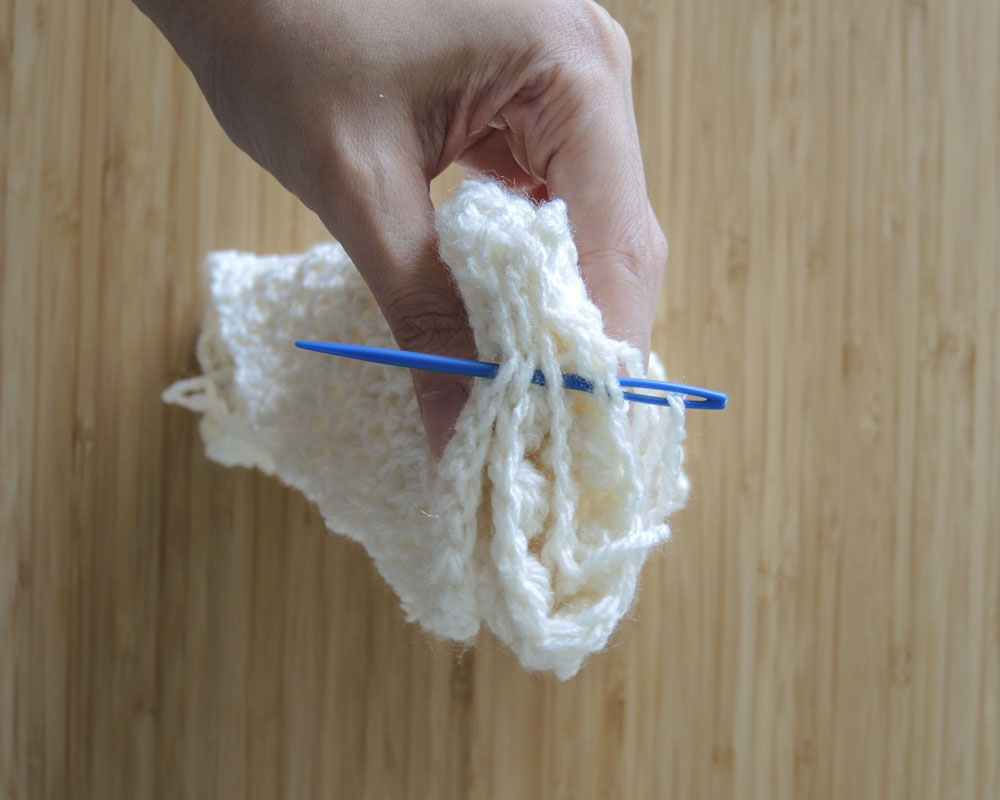
Sew all four edges together. I like to go back and forth twice to make it extra secure
Once you’re done, fasten off and flip the headband so the “right side” is facing out. You should get the shape shown in the picture below.
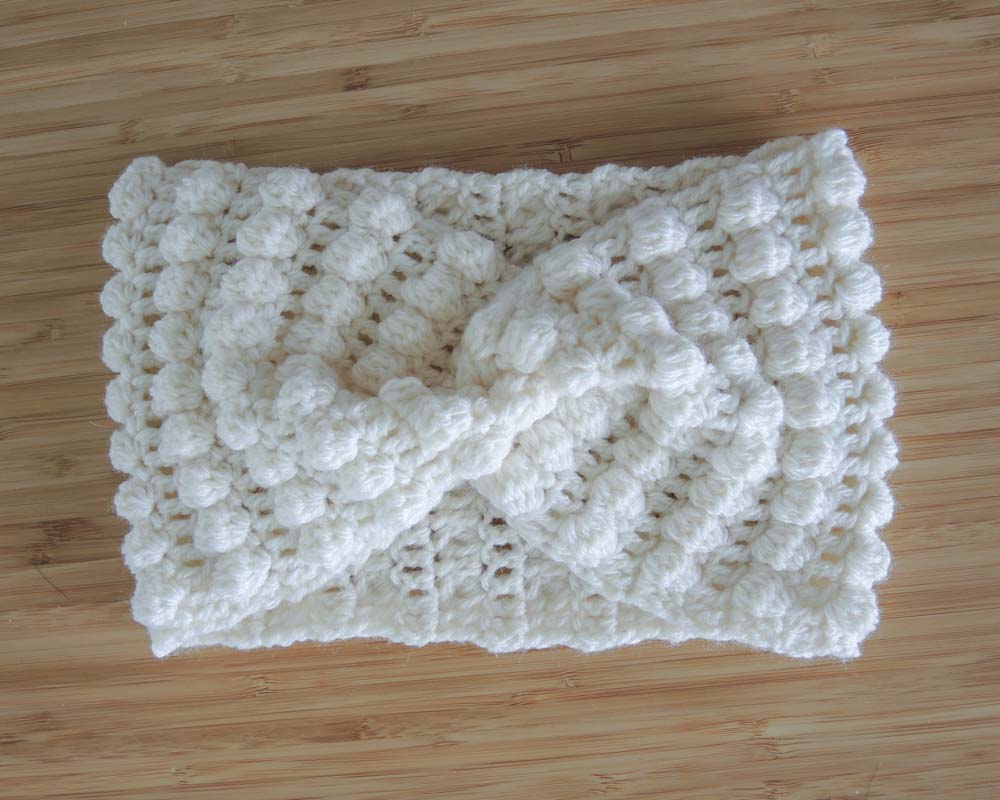
You have completed your Darlene Winter Headband!
If you find this pattern useful, please subscribe to this blog, or if you have any questions please leave it in the comment section and I will try to answer them as best as I can.
Pin it for later


Thank you for sharing such an amazing headband knitting video. This is real fun, and I will surely try making one by myself. I have recently learned some tutorials to style my short hair using headbands. Keep up the good work.
Thank you! I hope you enjoy crocheting and my blog. Have a great day.
This is adorable! Going to try this tonight!
This will make a very good Christmas gift and inexpensive as well. Thank for the videos.
I’m glad you enjoyed it 🙂
[…] Check out my other crochet headband free pattern here! […]
☺️ Great useful post! Will save this to try it myself, it looks cute!
Thank you, do try it. It’s perfect for Christmas gifts (it’s never too early to make winter stuff even though we’re just entering summer!)